Here is an article about HDR photography, with photo examples, video tutorials and explanation.
HDR stands for High Dynamic Range; sometimes HDRi where “i” is for imaging. It’s a set of techniques used to reproduce a greater range of luminosity that the range that you get with standard techniques.
Basically, it’s to combine photographs of the same subject, taken with different exposures, into a single image. This HDR photo will be able to show details in the highlights and shadows, representative of a broader tonal range.
I won’t talk about camera with HDR sensors here, but you can find good documentation on it across the web.
Most of the time you can simply combine 3 images (-2 stops, 0, +2 stops) to produce a HDR image, but you can go for 4 or change the stops, or, but it’s another technique, you can create a HDR image based on one single photo.
This last technique is called “Exposing to the right”, ETTR.
Regarding the 3 photos, to summarize, one is under exposed, allowing us to get more details in the highlight; one is normally exposed, revealing details in the “ambient” light; and the third one is over exposed, in order to show details in dark areas. The HDR result will have details everywhere in the picture.
To get good results, change the exposure by adjusting the shutter speed, and not the ISO or the aperture.
You can find some HDR functions on your smartphones (iPhone, Android etc), if you want to try to see quick results.
I guess those phones take 3 pictures, combine them, and show you the final result.
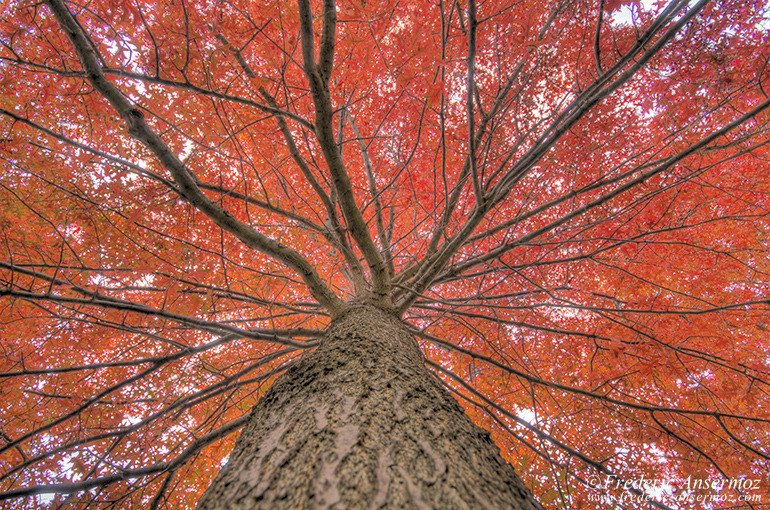
Here is a first serie of HDR photos:
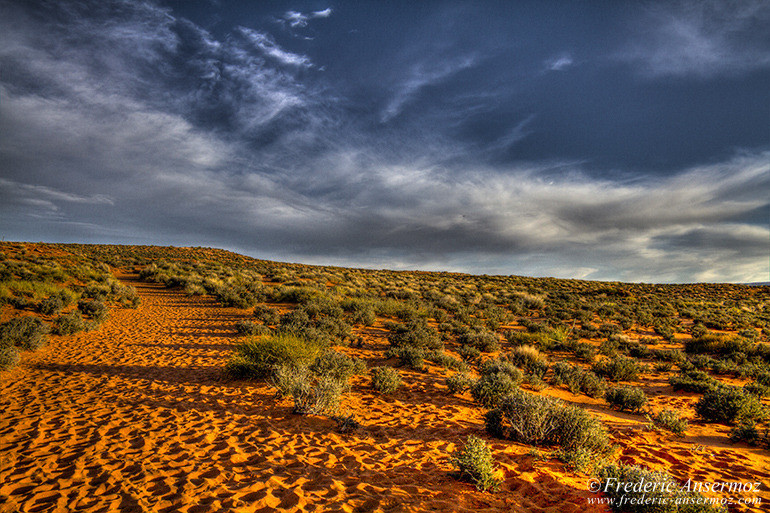
F8, 1/500 sec, 18 mm, ISO200, Canon EOS 7D
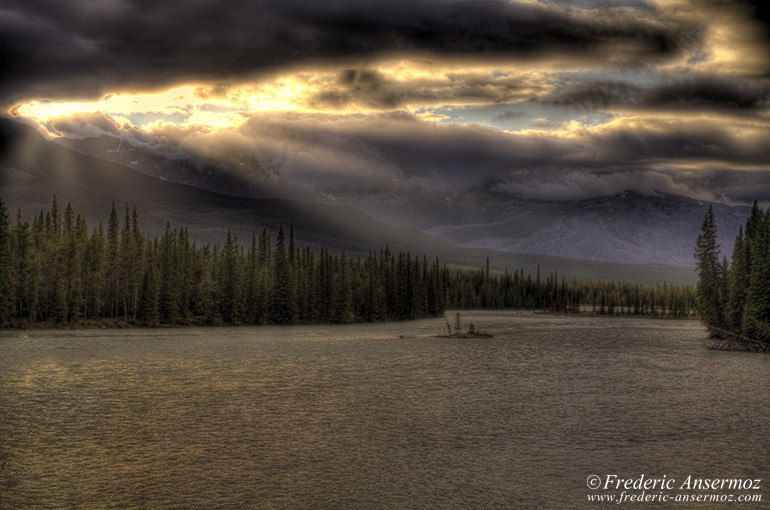
F13, 1/100 sec, 34 mm, ISO125, Canon EOS 7D
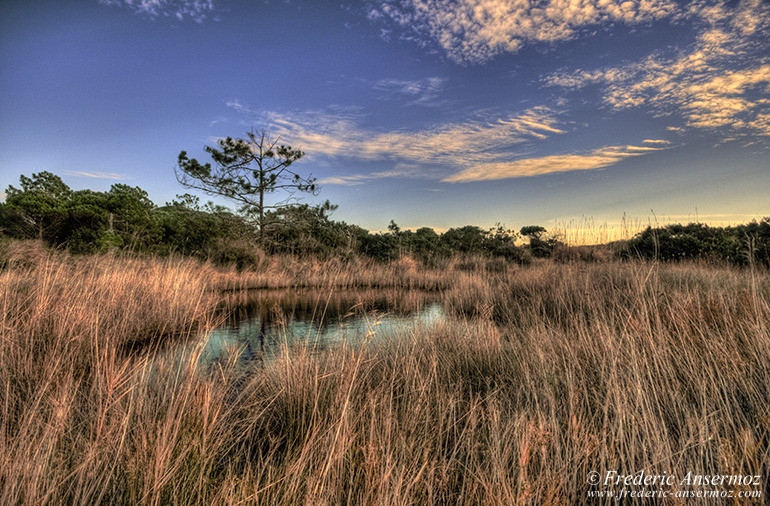
F8, 1/250 sec, 10 mm, ISO400, Canon EOS 400D DIGITAL
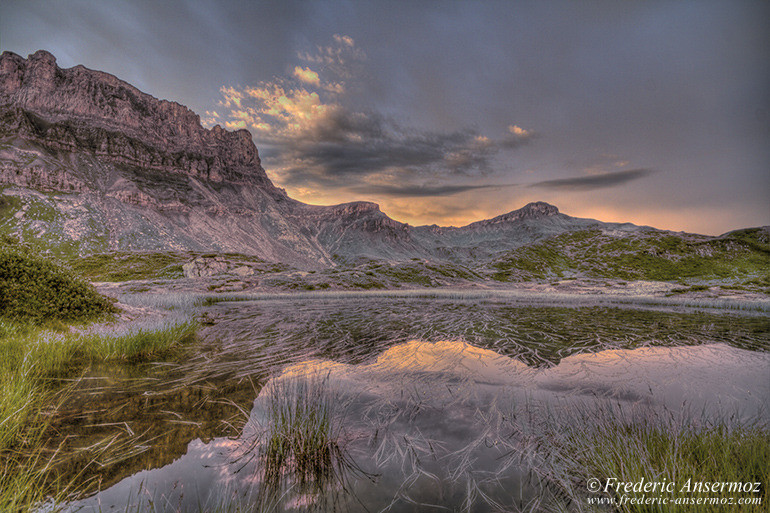
F8, 1/40 sec, 10 mm, ISO400, Canon EOS 7D
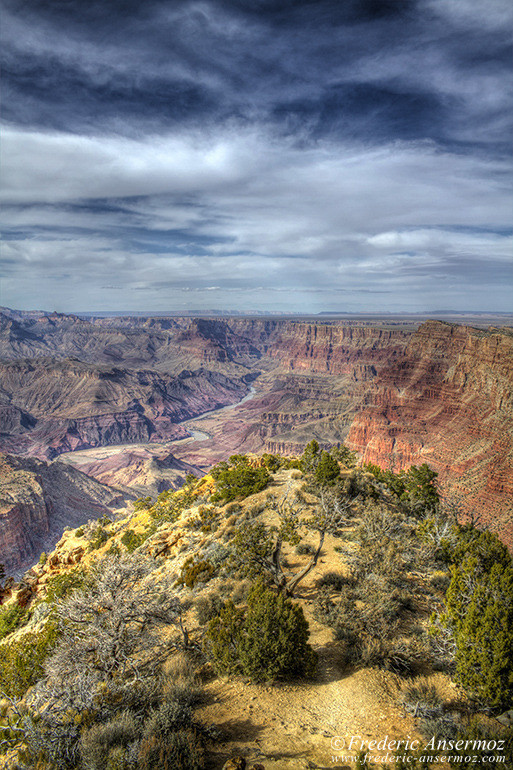
F8, 1/500 sec, 18 mm, ISO200, Canon EOS 7D
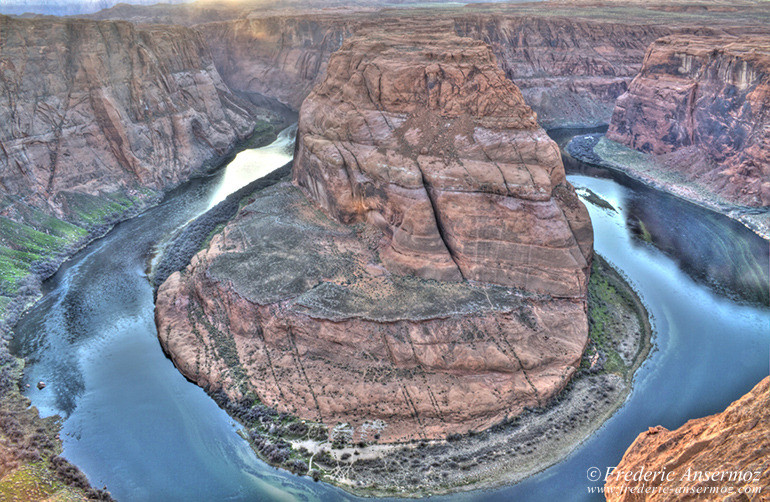
F22, 1.6 sec, 18 mm, ISO100, Canon EOS 7D
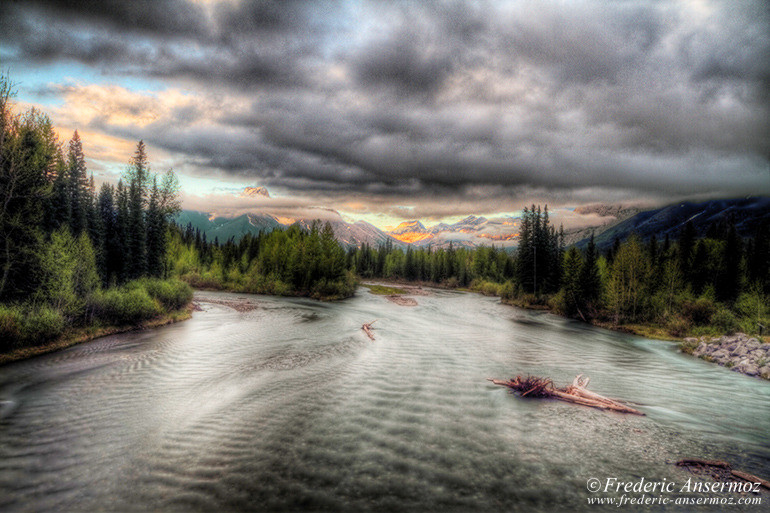
F22.63, 6.16884 sec, 16 mm, ISO200, Canon EOS 7D
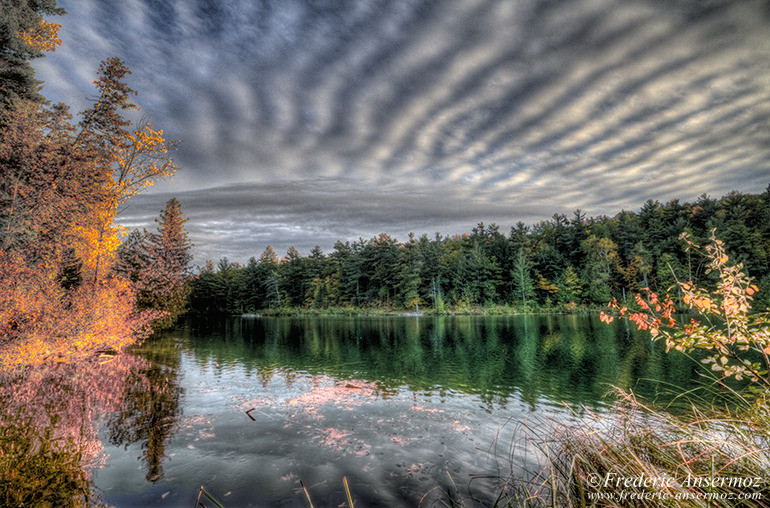
F11, 1/160 sec, 10 mm, ISO200, Canon EOS 7D
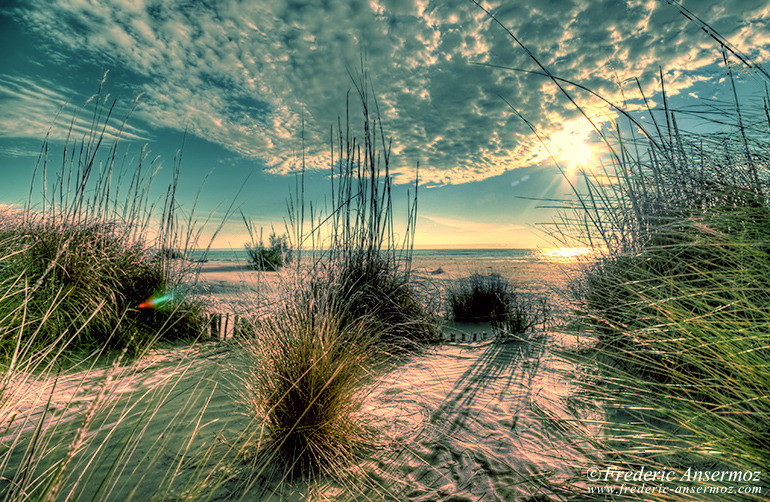
F8, 1/160 sec, 10 mm, ISO100, Canon EOS 400D DIGITAL
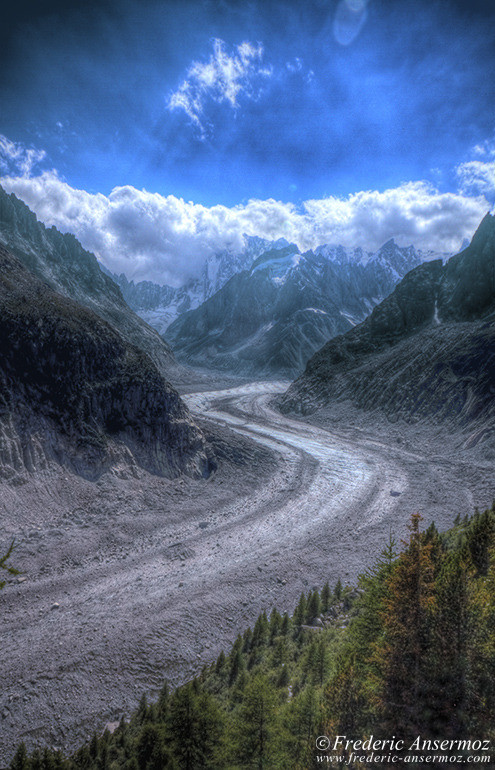
F8, 1/250 sec, 20 mm, ISO200, Canon EOS 7D
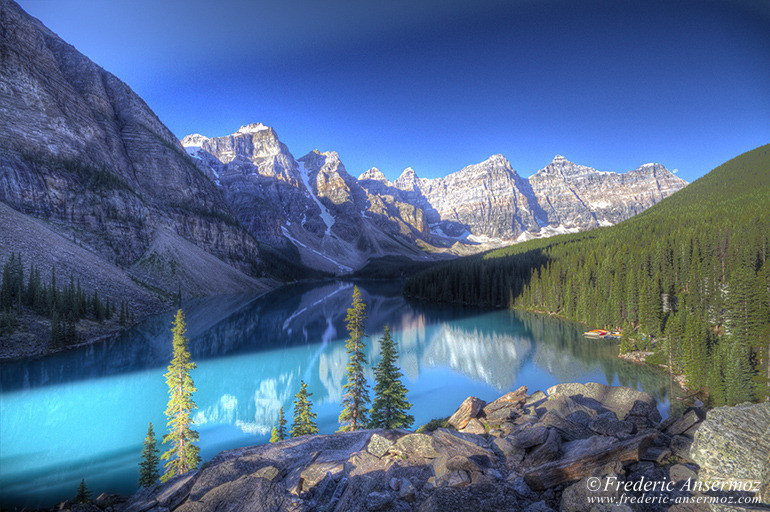
F9.1, 1/400 sec, 10 mm, ISO160, Canon EOS 7D
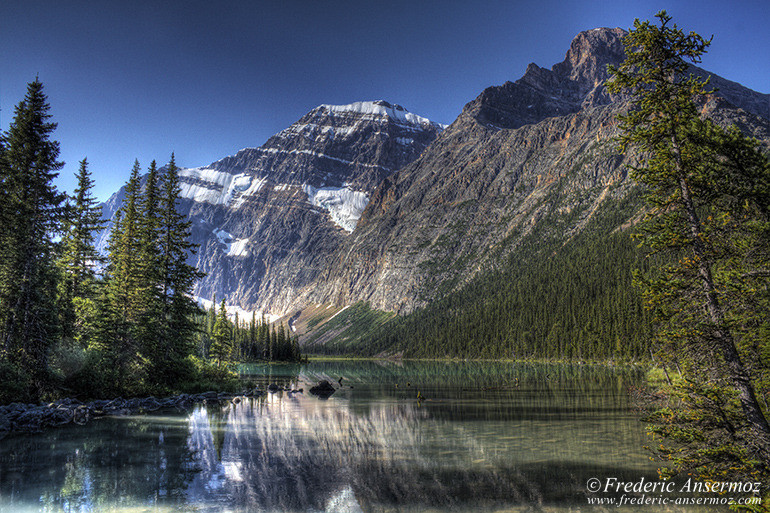
F11, 1/250 sec, 18 mm, ISO200, Canon EOS 7D
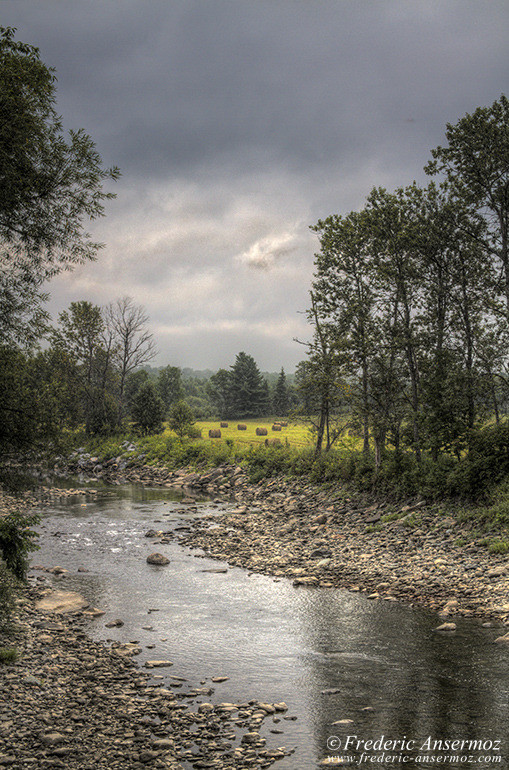
F9.9, 1/60 sec, 37 mm, ISO320, Canon EOS 7D
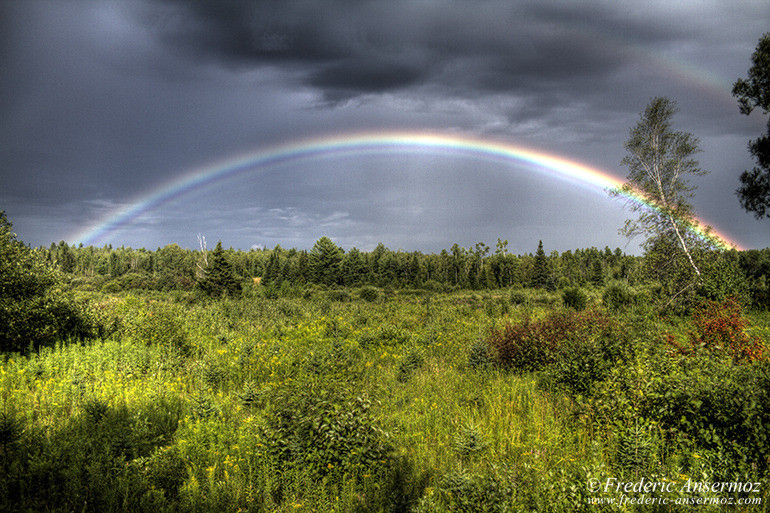
F6.4, 1/1000 sec, 18 mm, ISO250, Canon EOS 7D
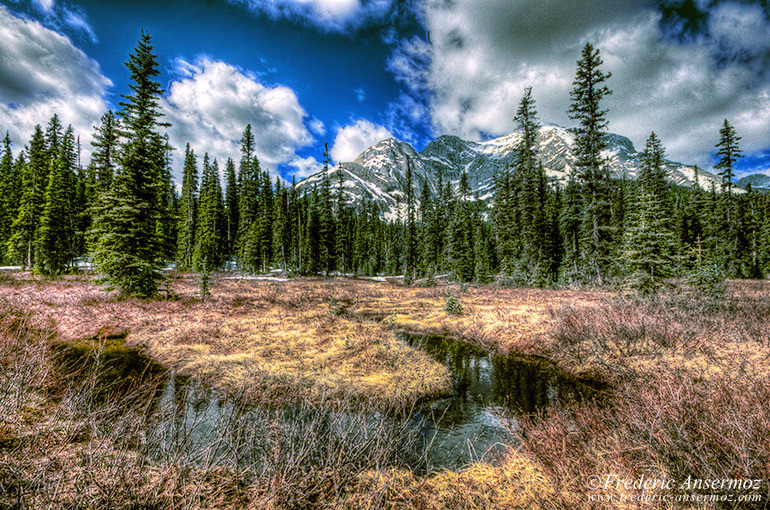
F13, 1/80 sec, 10 mm, ISO200, Canon EOS 400D DIGITAL
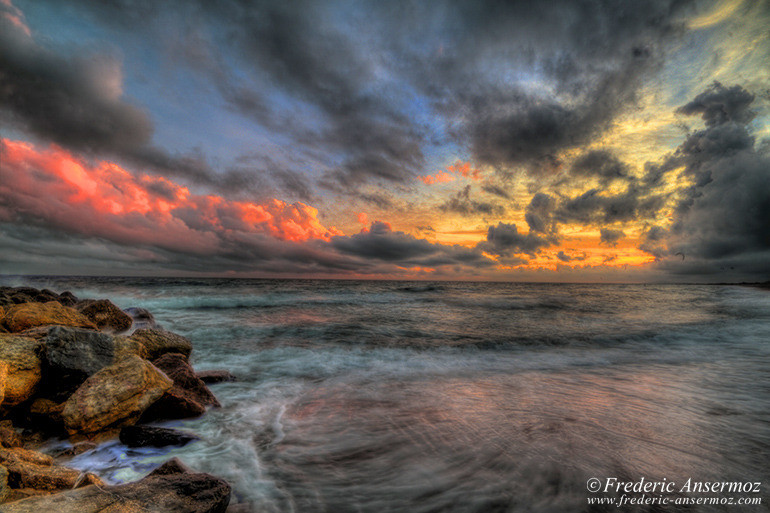
F22.63, 1/0 sec, 10 mm, ISO100, Canon EOS 7D
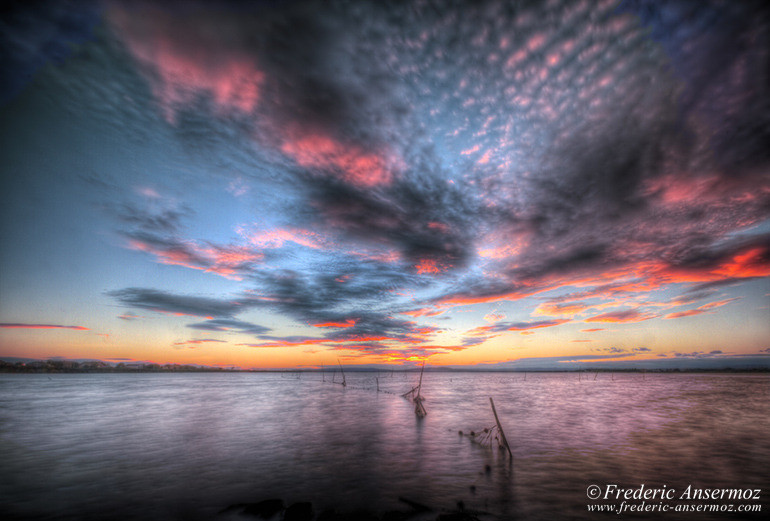
F23, 6.2 sec, 10 mm, ISO100, Canon EOS 7D
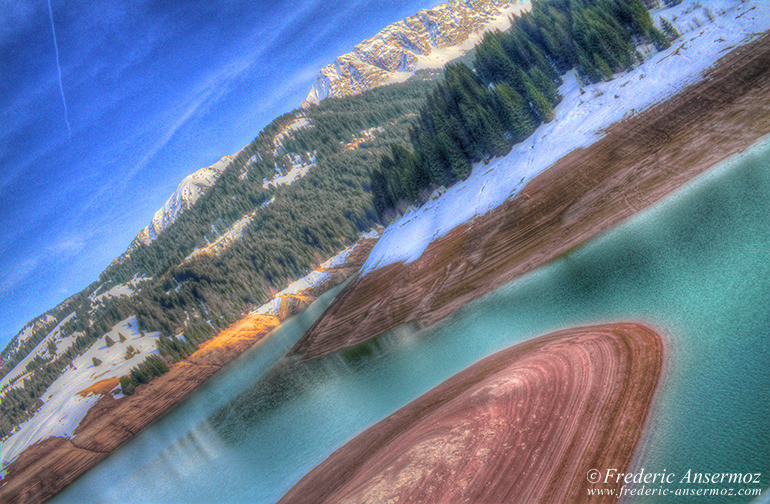
F8, 1/510 sec, 18 mm, ISO800, Canon EOS 7D
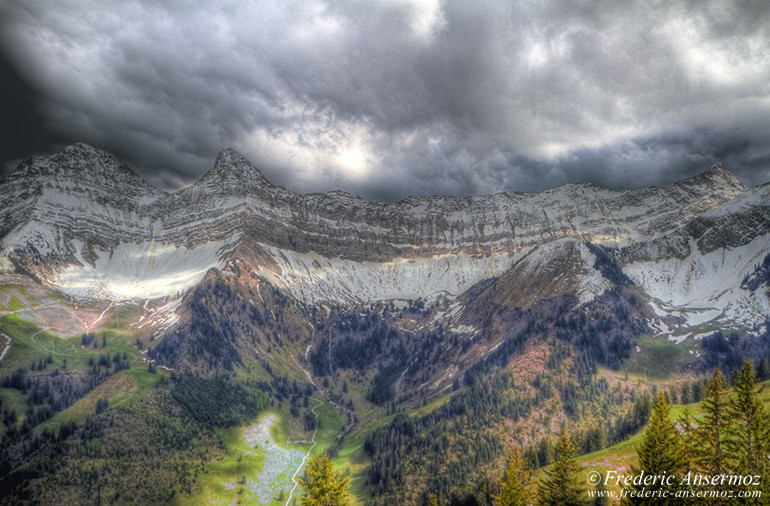
F9.11, 1/170 sec, 20 mm, ISO160, Canon EOS 7D
What I can advise, is that a tripod is mandatory if you want to have clean results.
In this article, I post photos taken with a tripod, without, edited or not, over exposed, with color issues etc, so this way, you can see a good range of results. Things to do, and things to avoid when you create High Dynamic Range images.
You can use HDR techniques when you shoot landscapes, nature, objects, architecture or even urban exploration.
It’s a bit more trickier when you want to do sport or action photographs, and this is where “Exposing to the right” / ETTR can be useful.
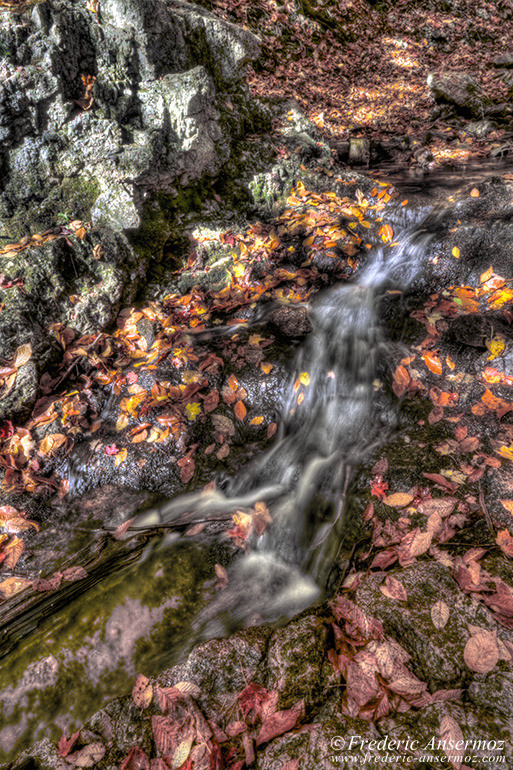
F23, 1/0 sec, 11 mm, ISO100, Canon EOS 7D
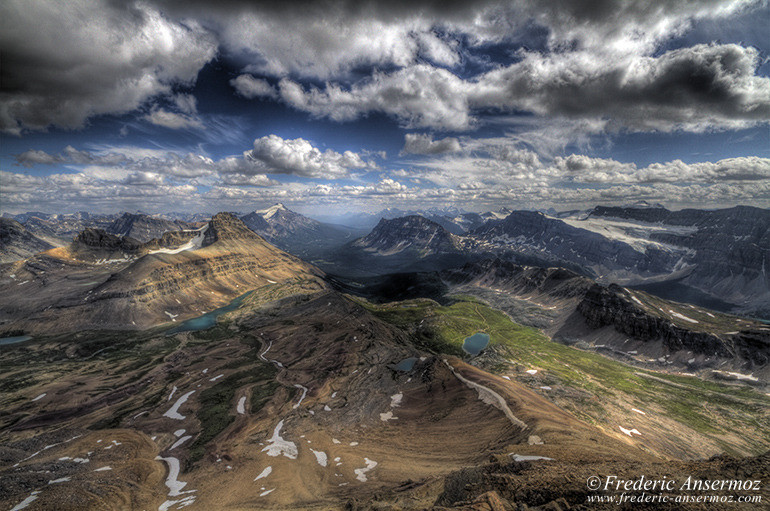
F13, 1/160 sec, 10 mm, ISO200, Canon EOS 7D
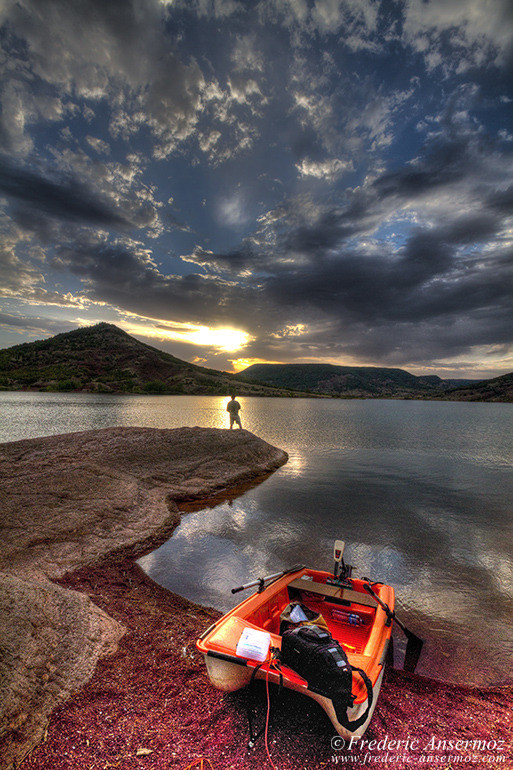
F13, 1/320 sec, 10 mm, ISO400, Canon EOS 7D
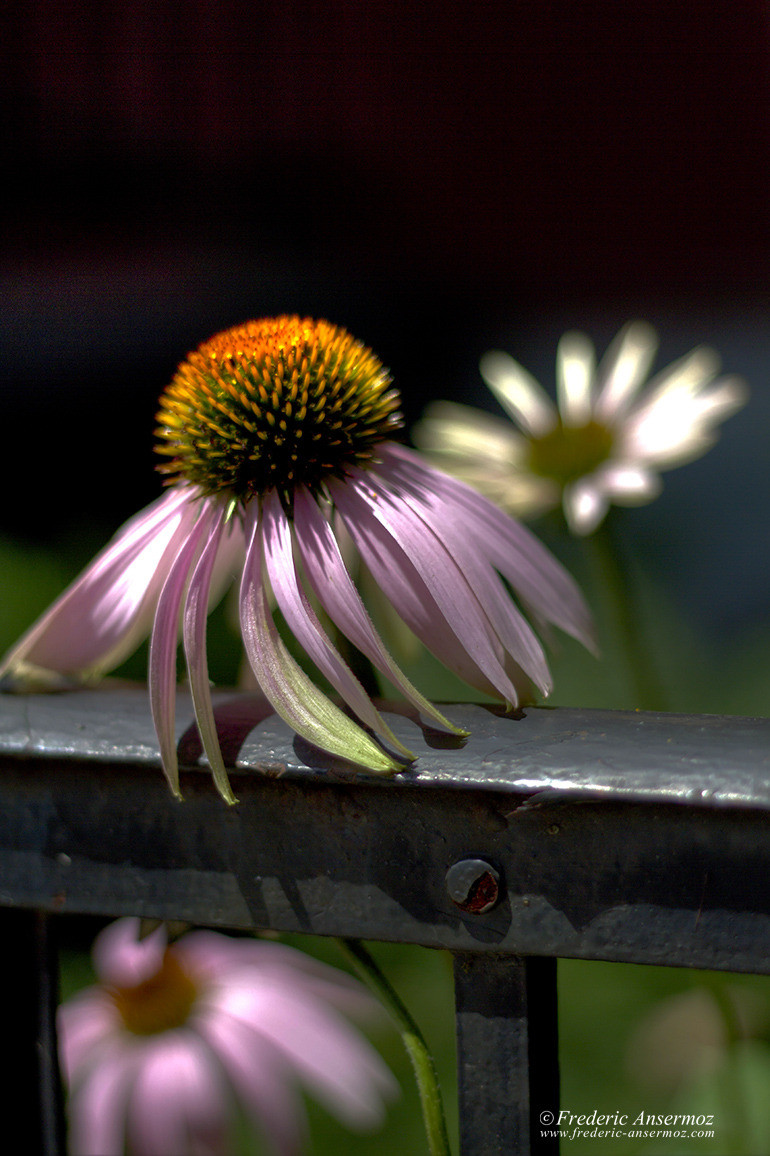
F1.8, 1/8000 sec, 50 mm, ISO100, Canon EOS 7D
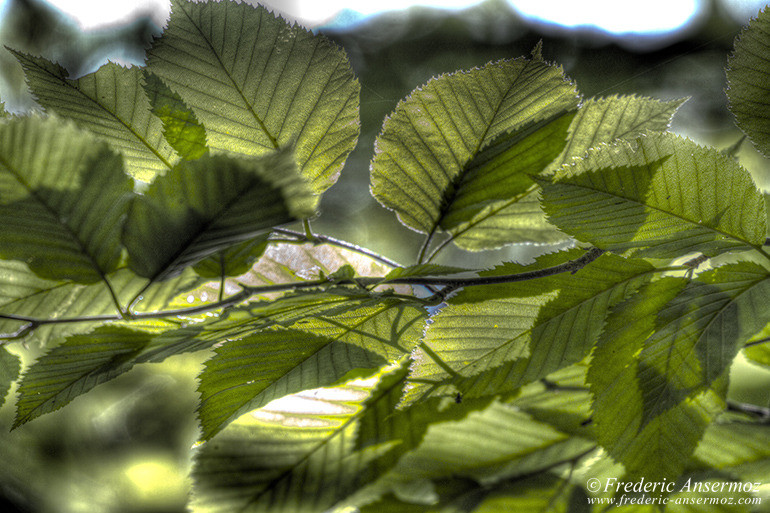
F6.3, 1/60 sec, 287 mm, ISO400, Canon EOS 7D
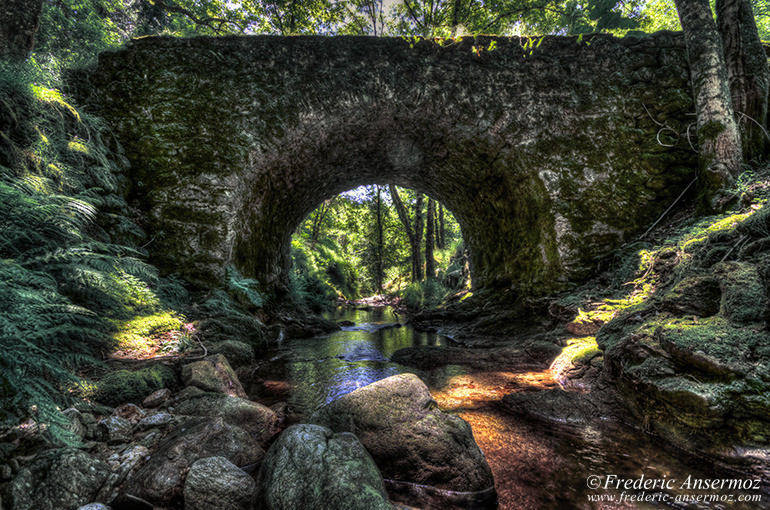
F8, 1/40 sec, 10 mm, ISO800, Canon EOS 7D
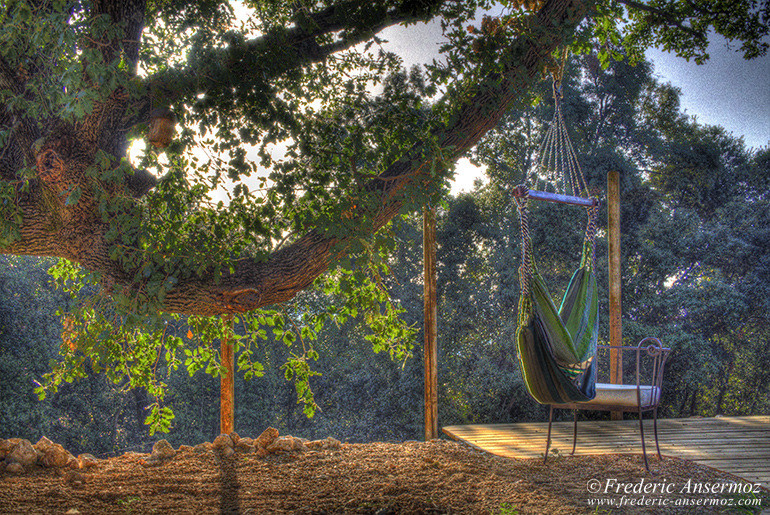
F20, 1/130 sec, 27 mm, ISO1600, Canon EOS 7D
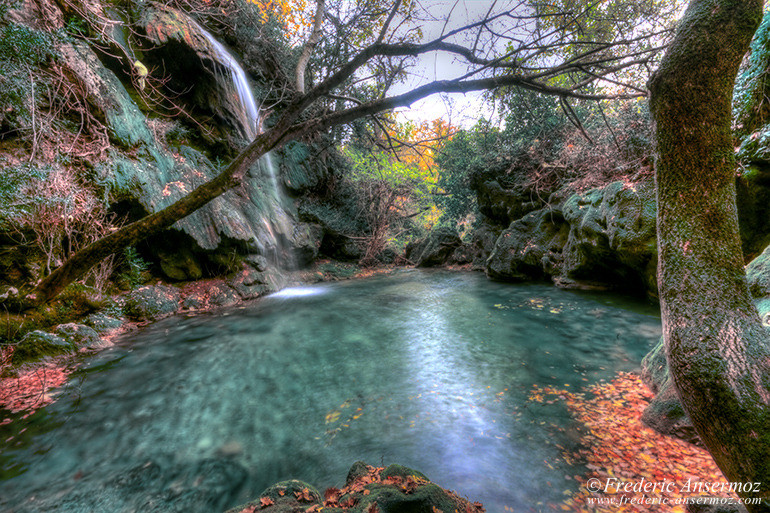
F22.63, 2 sec, 10 mm, ISO100, Canon EOS 7D
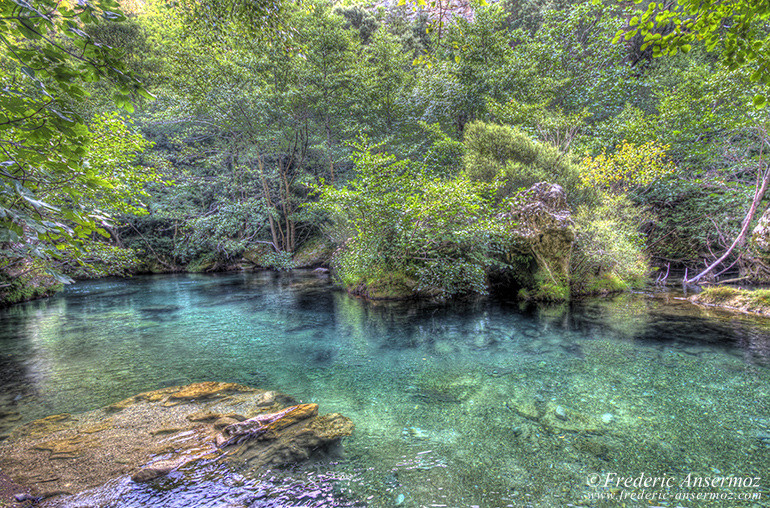
F5.7, 1/50 sec, 10 mm, ISO250, Canon EOS 7D
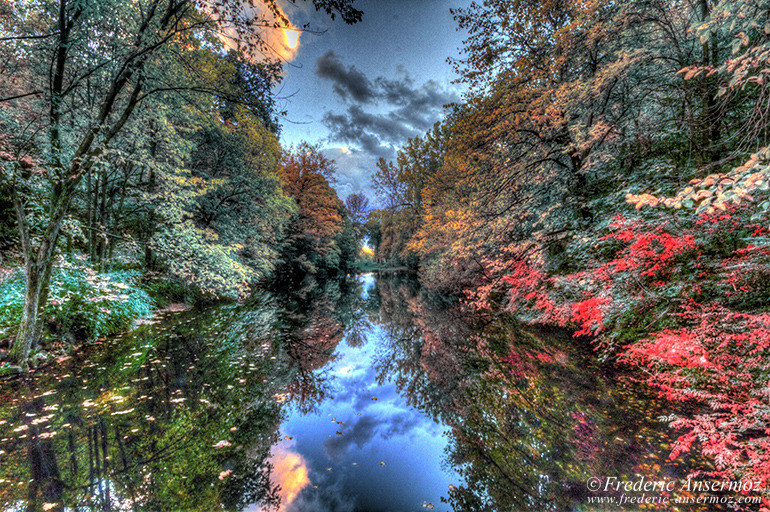
F23, 1/0 sec, 10 mm, ISO640, Canon EOS 7D
Here is a good video Introduction to HDR Photography, from B&H and Allan Kesselhaut.
You will discover HDR techniques, how to capture HDR photos, but also the editing process, using softwares such as Photoshop, Photomatix Pro 4, Topazz plugins etc.
This is a good video tutorial that will teach you a lot or refresh your memory about HDR Photography.
You can also use, if your camera has this feature, the Autobracketing. Your camera will take several successive images (most of the time, 3), and, if your camera can also do this Automatic Exposure Bracketing mode, it will combine the shots into a single High Dynamic Range image.
You can dig into your digital camera instruction manual to see if you have those options.
Keep in mind that there is a slight delay between each take if you are shooting action photography.
In the following serie of HDR photos, you can have a good example of ghosting or ghost artefacts in an image (the second one with the Calgary Tower, look at the person on the sidewalk).
So that’s it’s more difficult with moving subjects. You can still reduce or even avoid this with softwares like Photomatix, or it can completely be an artistic desire.
The following picture, I asked to my great friends from Montreal to stand still during the shots, avoiding ghosting and blurry effects.
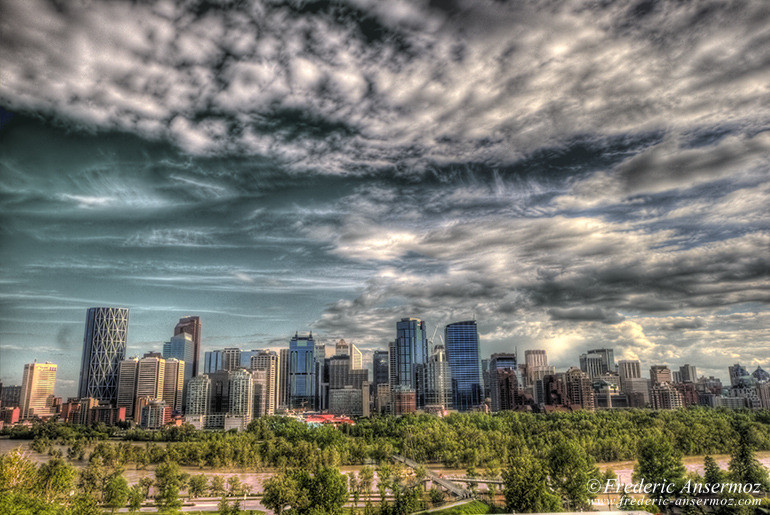
F11, 1/640 sec, 16 mm, ISO200, Canon EOS 400D DIGITAL
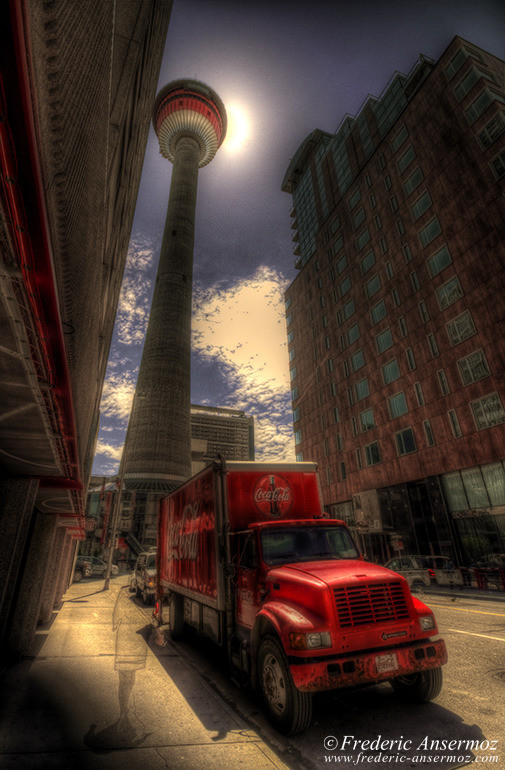
F11, 1/130 sec, 10 mm, ISO200, Canon EOS 7D
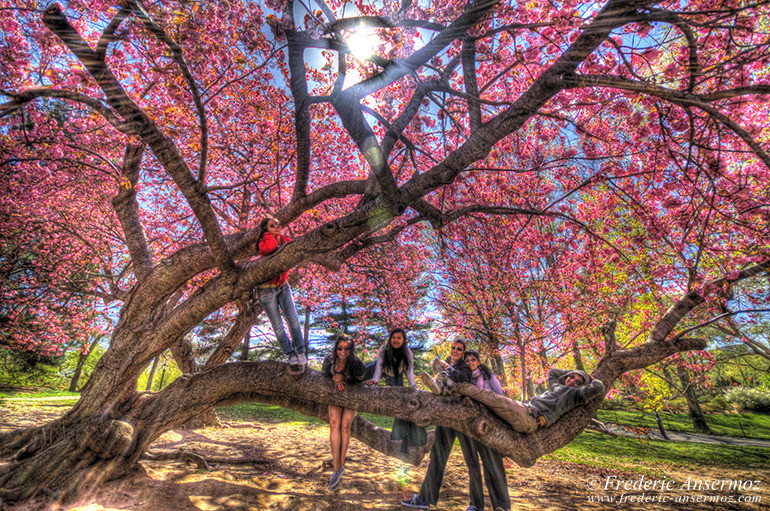
F4, 1/1600 sec, 10 mm, ISO400, Canon EOS 7D
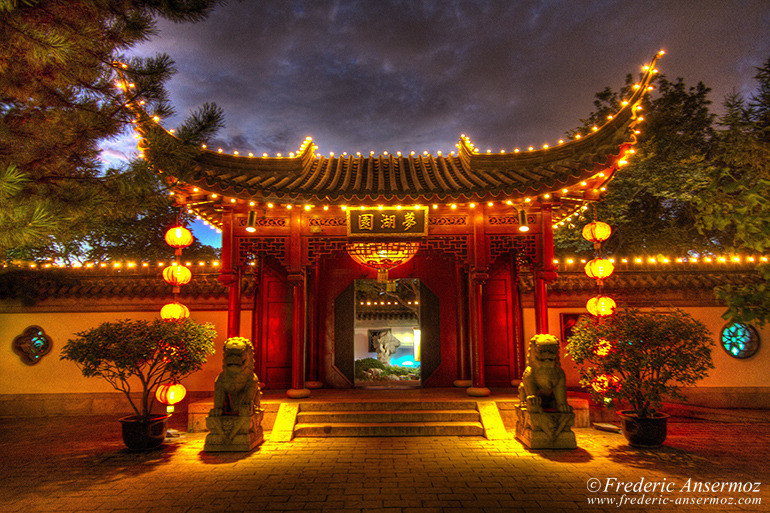
F5.6, 1/0 sec, 15 mm, ISO1250, Canon EOS 7D
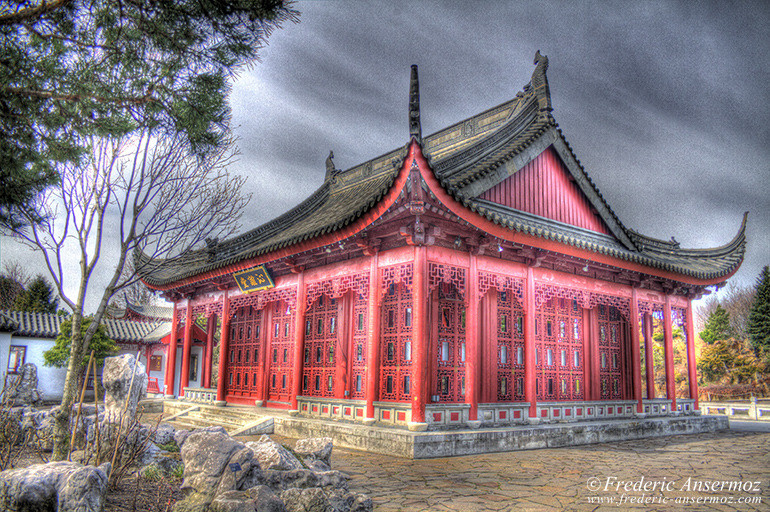
F4, 1/640 sec, 18 mm, ISO320, Canon EOS 7D
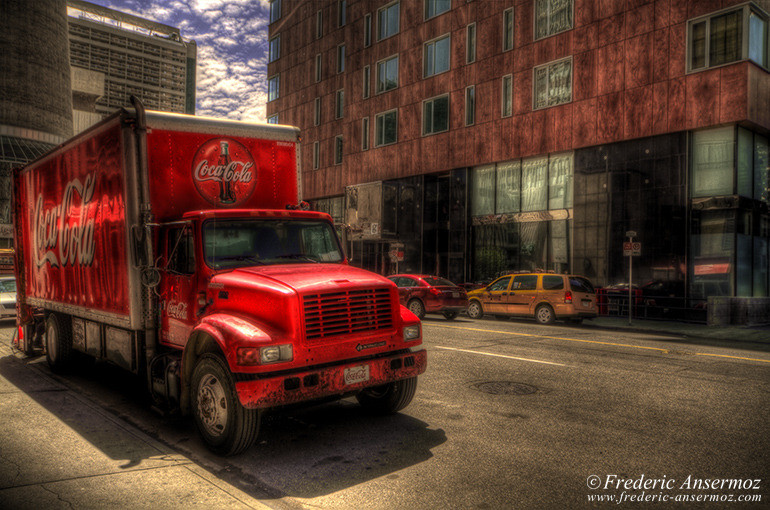
F11, 1/250 sec, 18 mm, ISO200, Canon EOS 7D
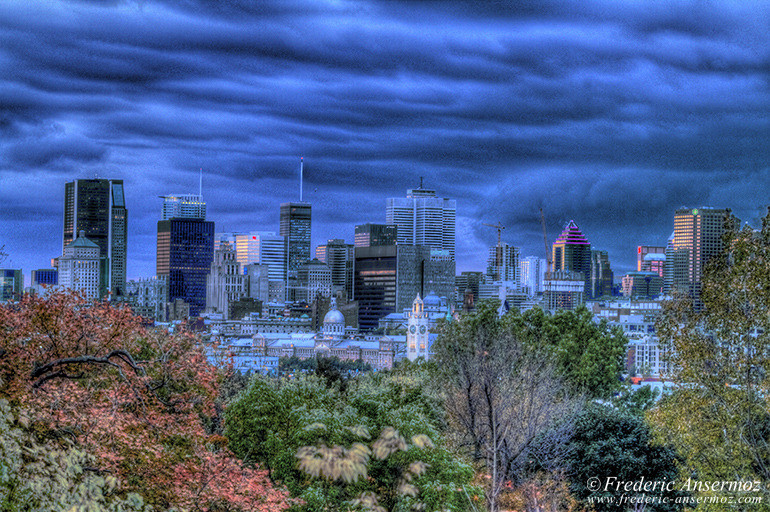
F5.7, 1/100 sec, 70 mm, ISO640, Canon EOS 7D
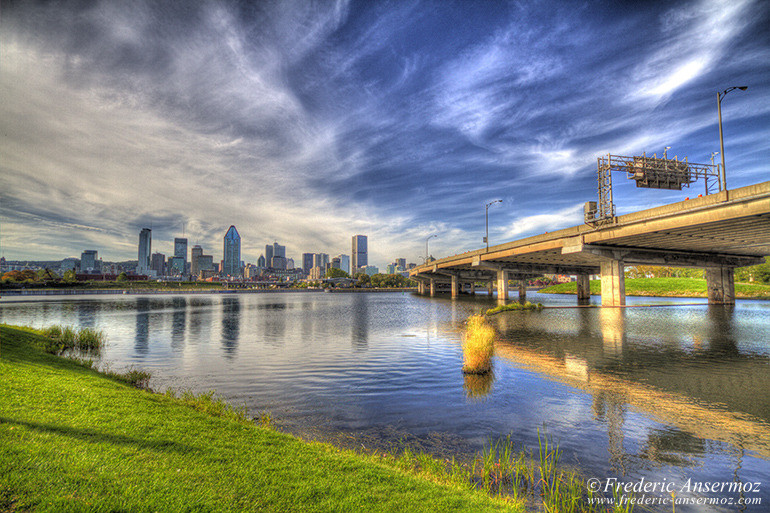
F4, 1/2000 sec, 10 mm, ISO320, Canon EOS 7D
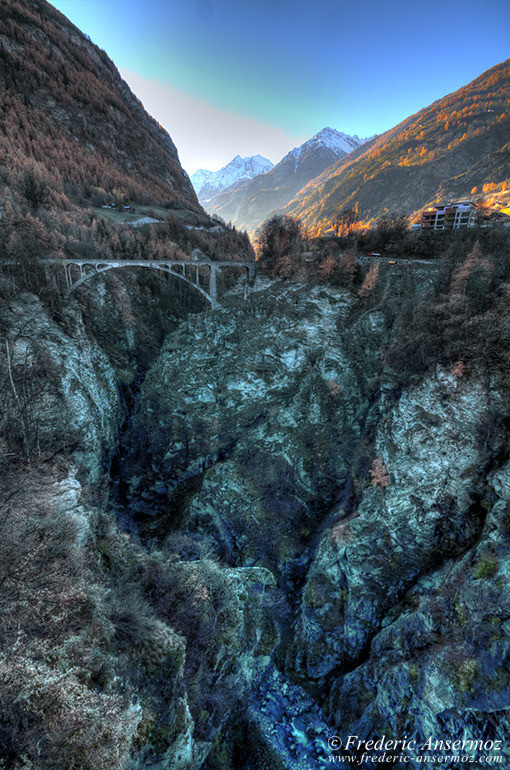
F13, 1/10 sec, 10 mm, ISO250, Canon EOS 7D
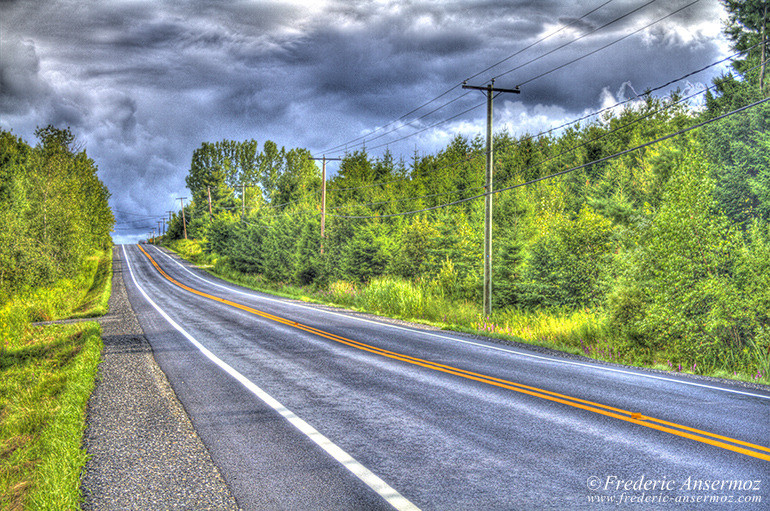
F5, 1/1600 sec, 31 mm, ISO250, Canon EOS 7D
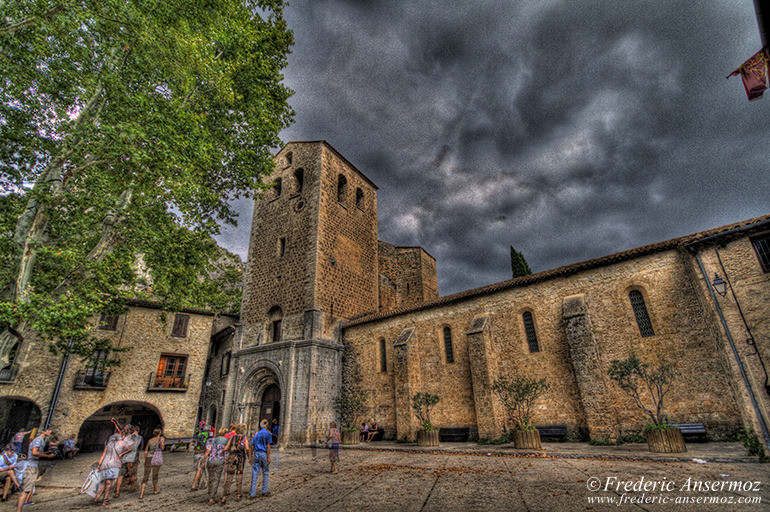
F5.7, 1/1000 sec, 10 mm, ISO1000, Canon EOS 7D
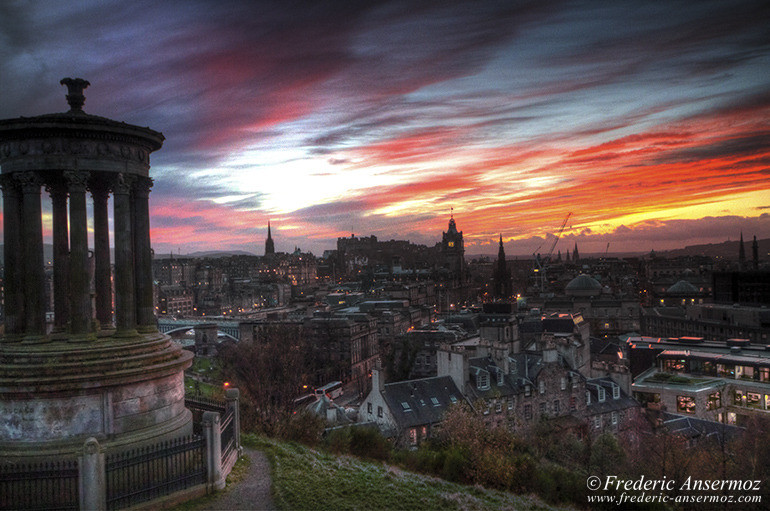
F5.6, 1/10 sec, 20 mm, ISO2500, Canon EOS 7D
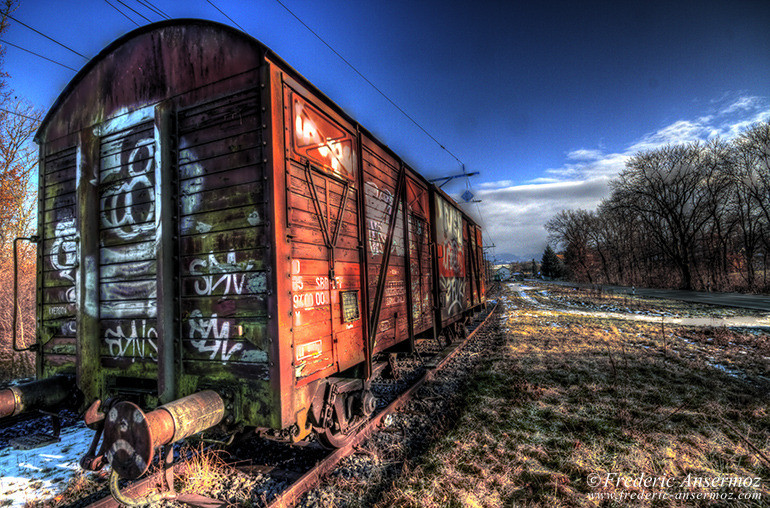
F9.9, 1/100 sec, 10 mm, ISO800, Canon EOS 7D
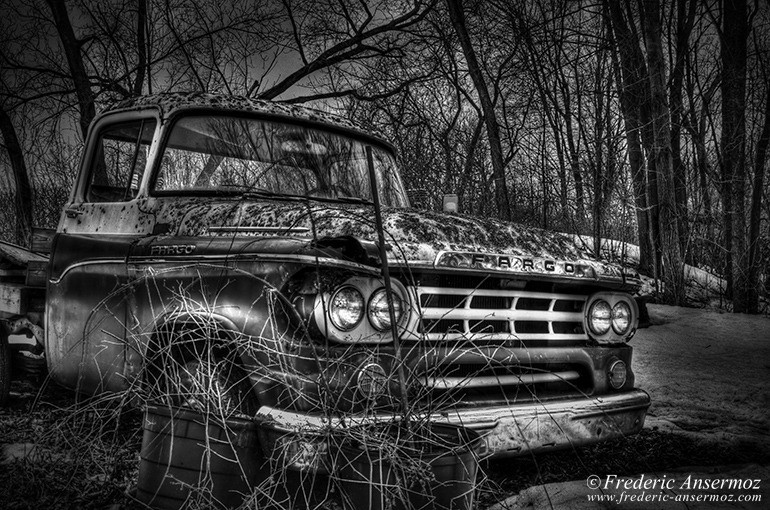
F9, 1/500 sec, 25 mm, ISO800, Canon EOS 400D DIGITAL
You can see in the following video how to capture and edit HDR photos.
This Youtube video is from Kim Seng (aka Captain Kimo): HDR Technique Revealed.
You will see how to use Photomatix combined with Photoshop.
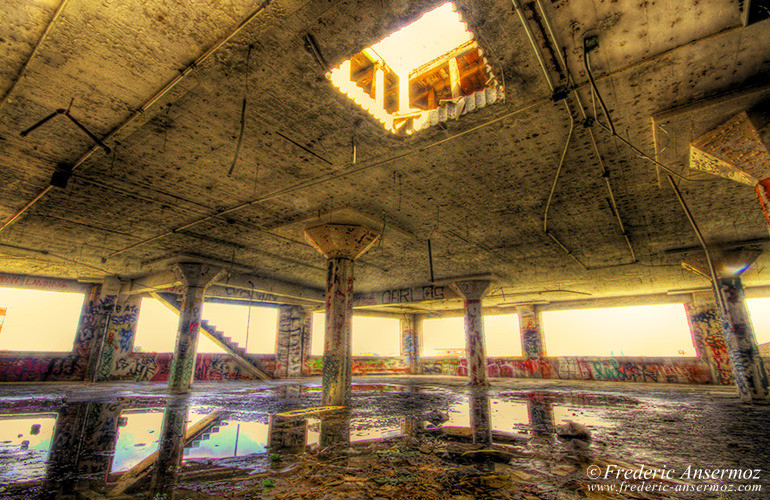
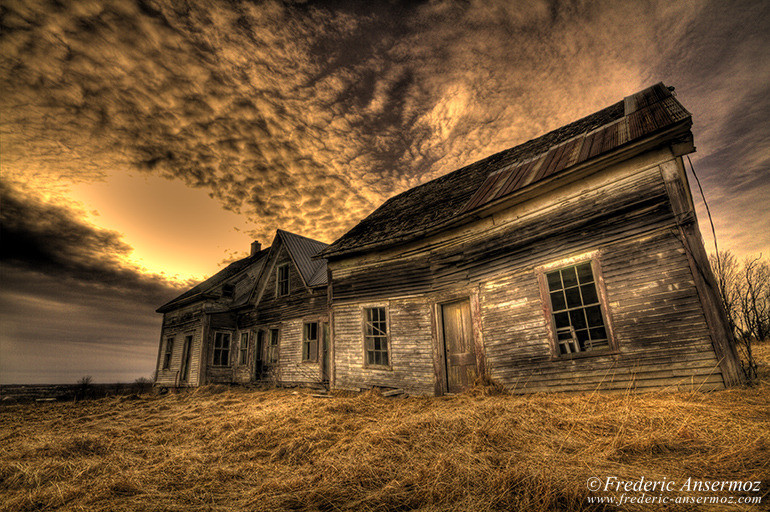
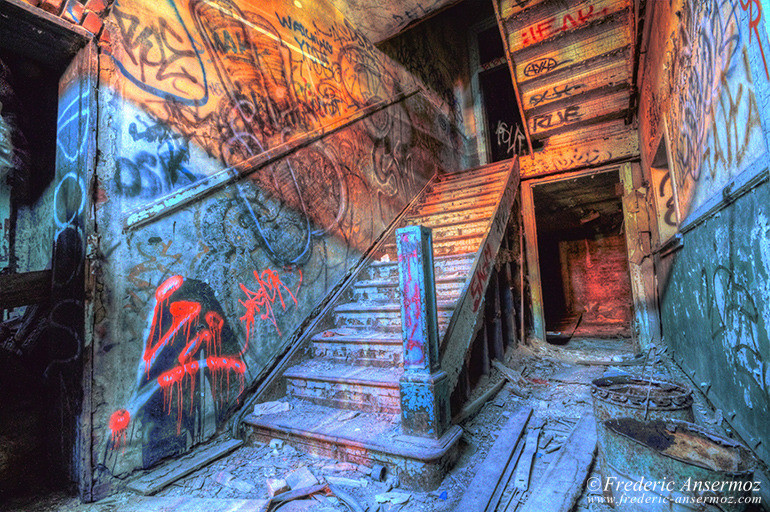
Here are some other examples of what you can do with High Dynamic Range images, such as indoor shots, architecture or even urban exploration.
It comes handy when you explore dark abandoned buildings, houses or factories.
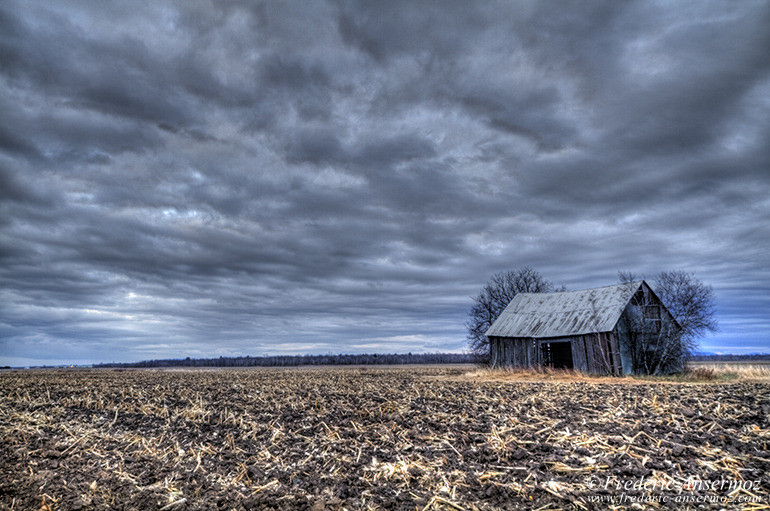
F9.9, 1.3 sec, 16 mm, ISO100, Canon EOS 7D
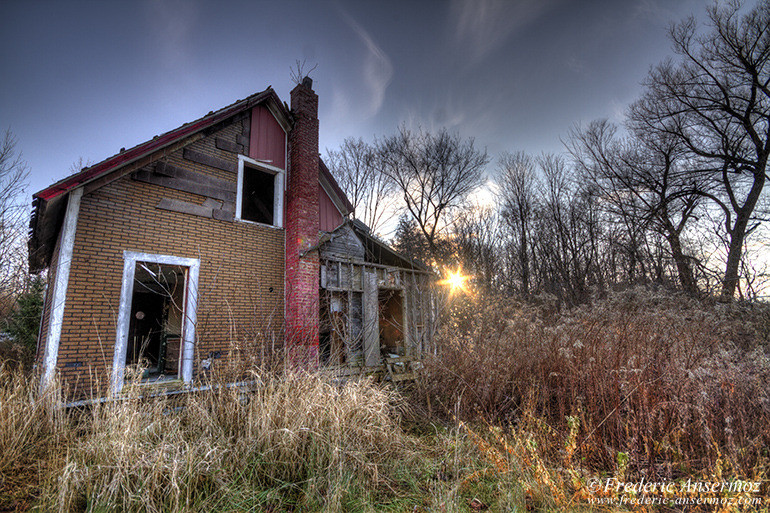
F16, 1/40 sec, 10 mm, ISO100, Canon EOS 7D
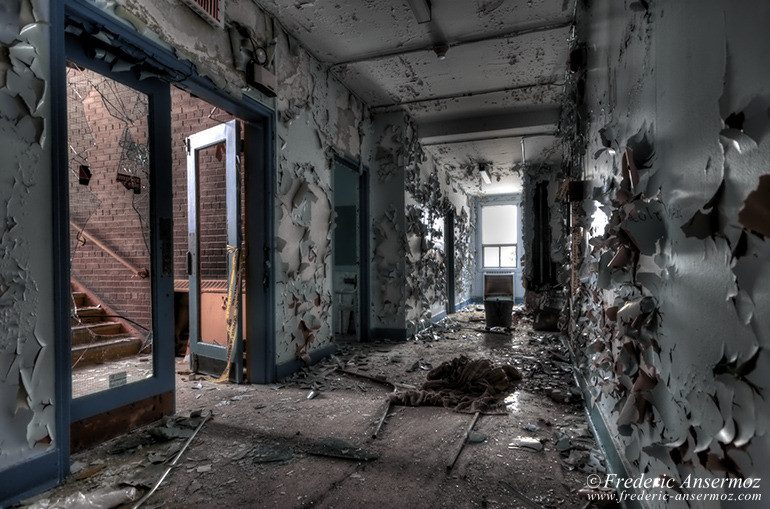
F9, 1/10 sec, 11 mm, ISO800, Canon EOS 400D DIGITAL
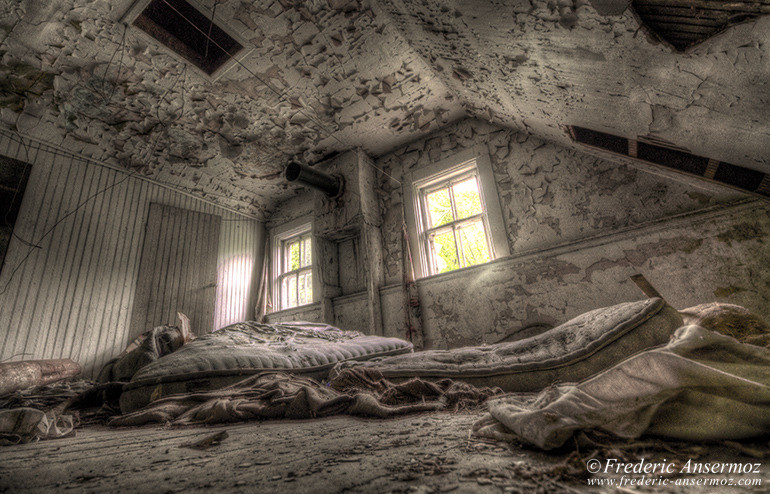
F8, 1/90 sec, 10 mm, ISO800, Canon EOS 7D
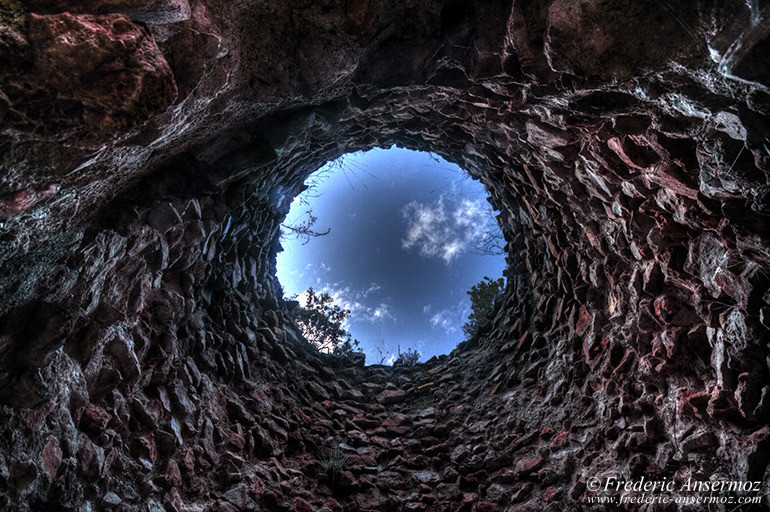
F8, 1/60 sec, 10 mm, ISO400, Canon EOS 7D
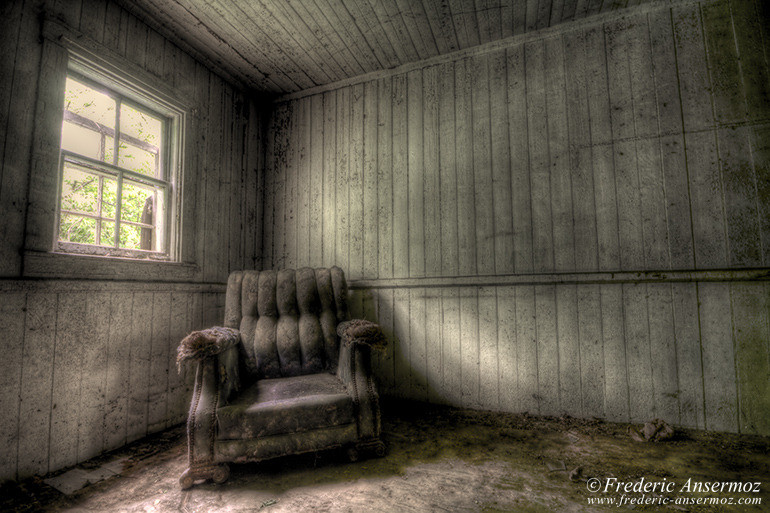
F11, 3.2 sec, 10 mm, ISO100, Canon EOS 7D
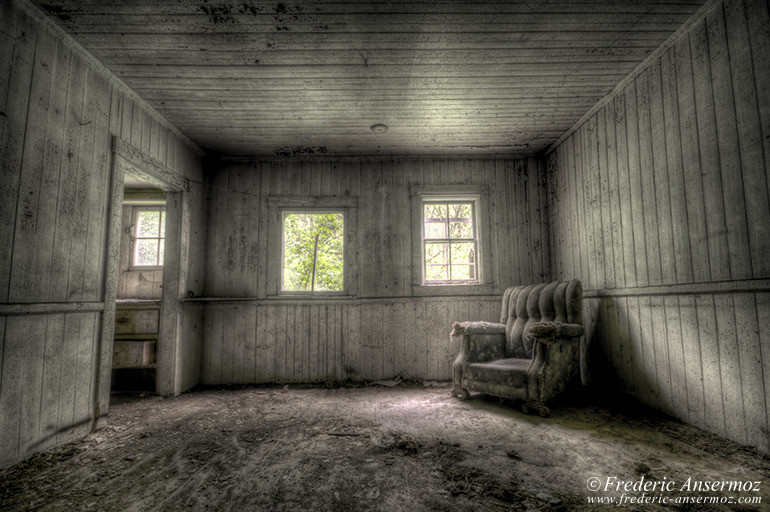
F8, 2 sec, 10 mm, ISO200, Canon EOS 7D
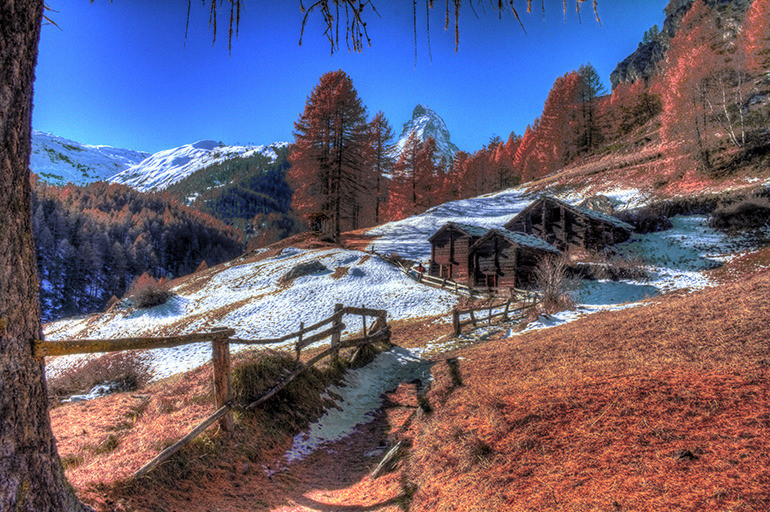
F12.88, 1/10 sec, 18 mm, ISO200, Canon EOS 7D
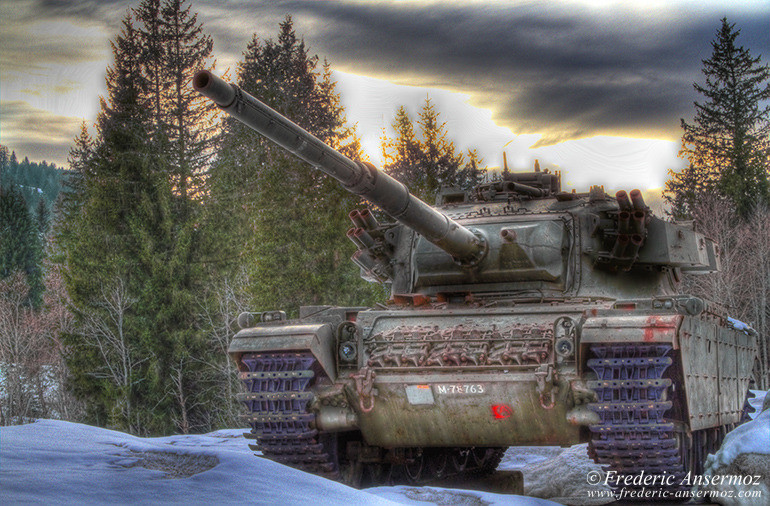
F11.31, 1/260 sec, 50 mm, ISO800, Canon EOS 7D
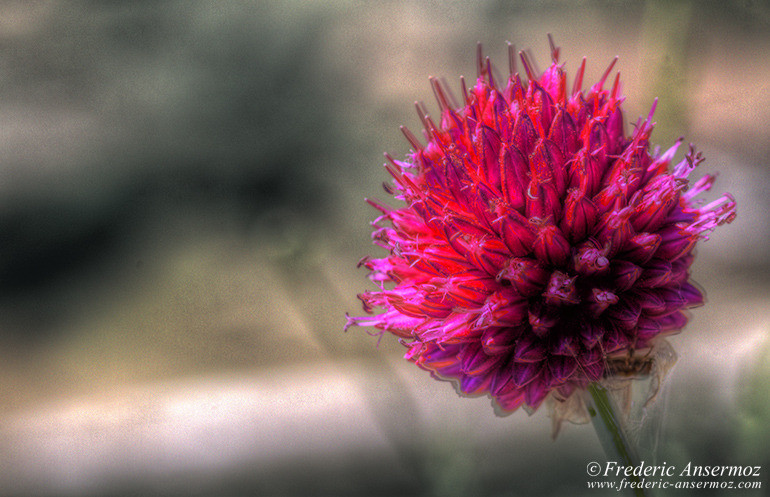
F4.6, 1/250 sec, 100 mm, ISO400, Canon EOS 7D
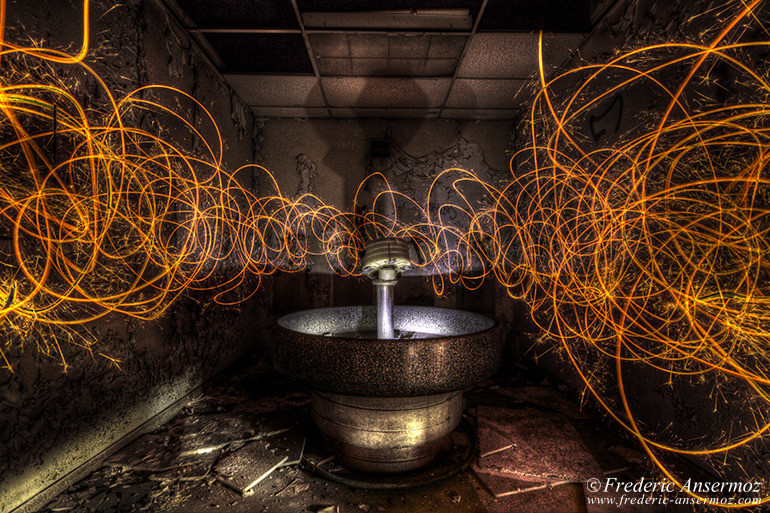
F13, 10 sec, 10 mm, ISO400, Canon EOS 7D
You can also enhance the colors and color saturation in your HDR image, which can be really interesting, but it can also ruin your photo when it’s too much.
I try to show different type of HDR photography, but also different results, good or bad.
I don’t do too much High Dynamic Range images, but sometime it can be interesting when you are working in difficult light conditions.
Landscapes and urban exploration are the main domains for me I think, when I do HDR photography.
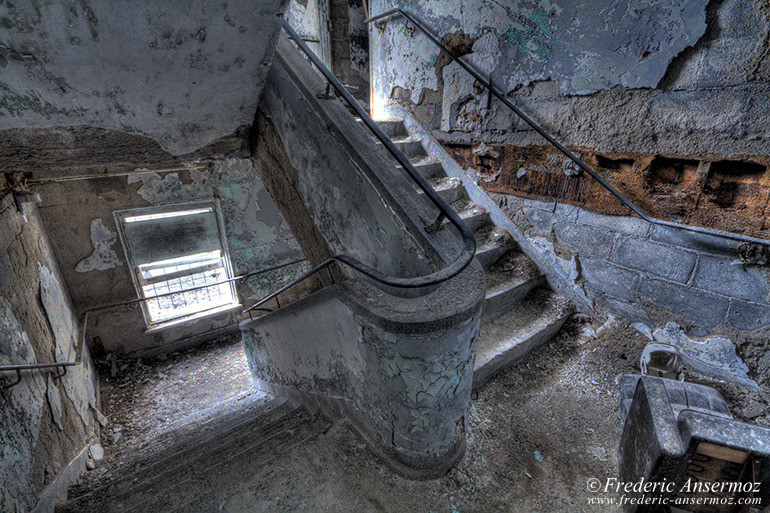
F13, 1/10 sec, 10 mm, ISO1600, Canon EOS 7D
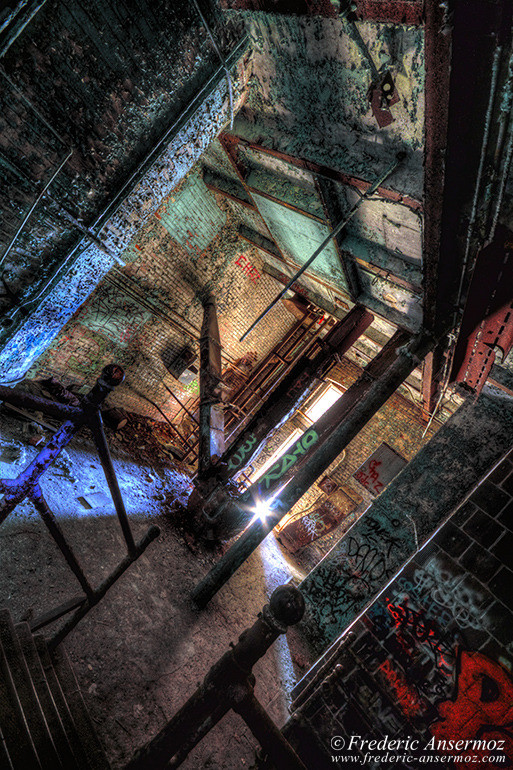
F11, 16 sec, 10 mm, ISO200, Canon EOS 7D
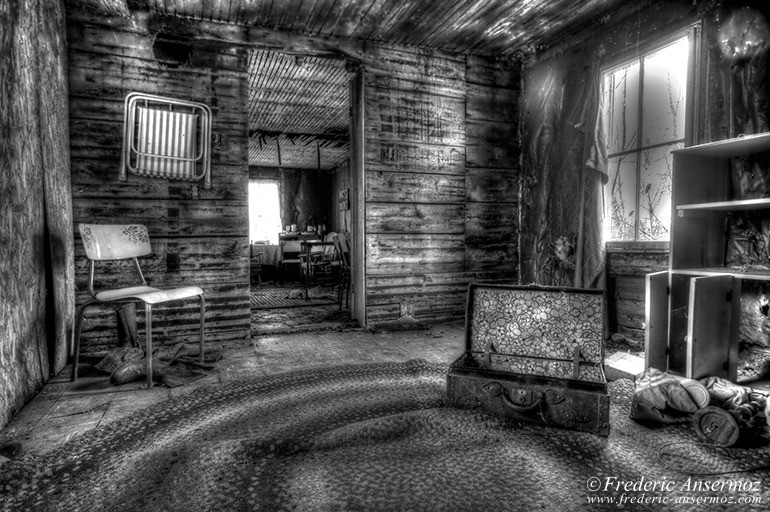
F9, 1/0 sec, 12 mm, ISO100, Canon EOS 400D DIGITAL
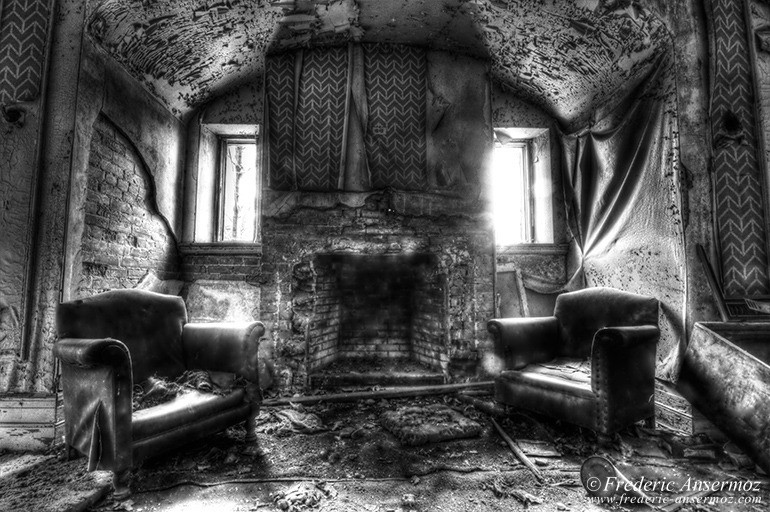
F11, 1/10 sec, 10 mm, ISO800, Canon EOS 7D
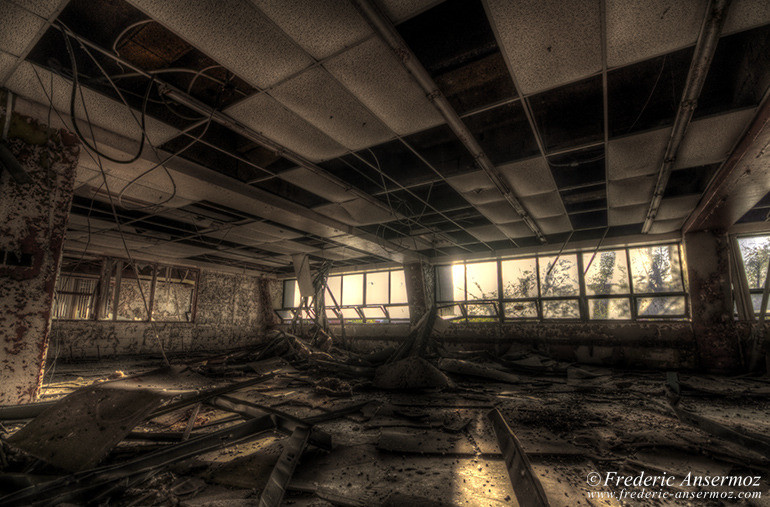
F7, 1/250 sec, 10 mm, ISO800, Canon EOS 7D
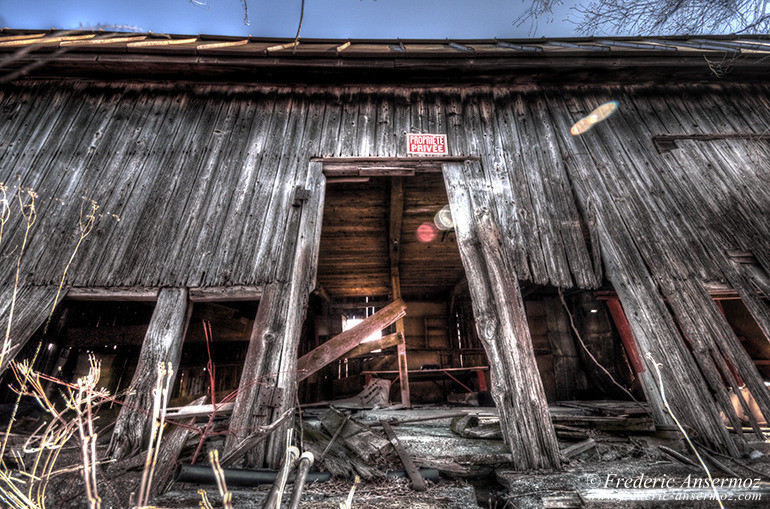
F6.3, 1/250 sec, 10 mm, ISO200, Canon EOS 400D DIGITAL
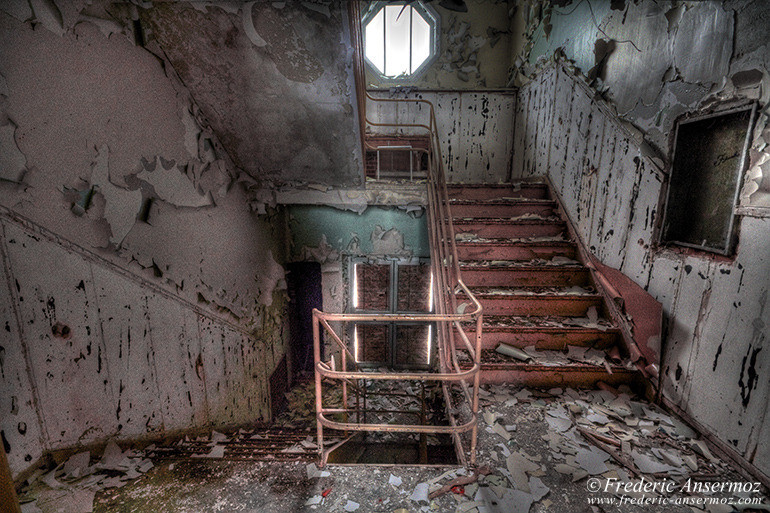
F9.1, 1/40 sec, 10 mm, ISO1000, Canon EOS 7D
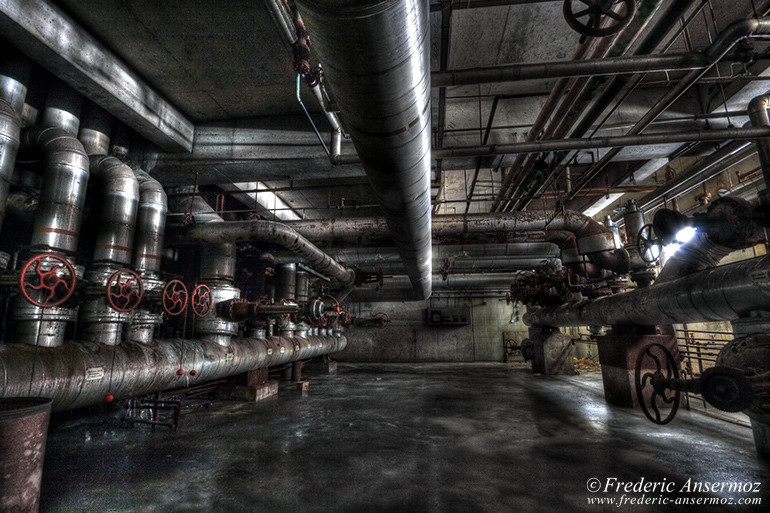
F11, 10 sec, 10 mm, ISO200, Canon EOS 400D DIGITAL
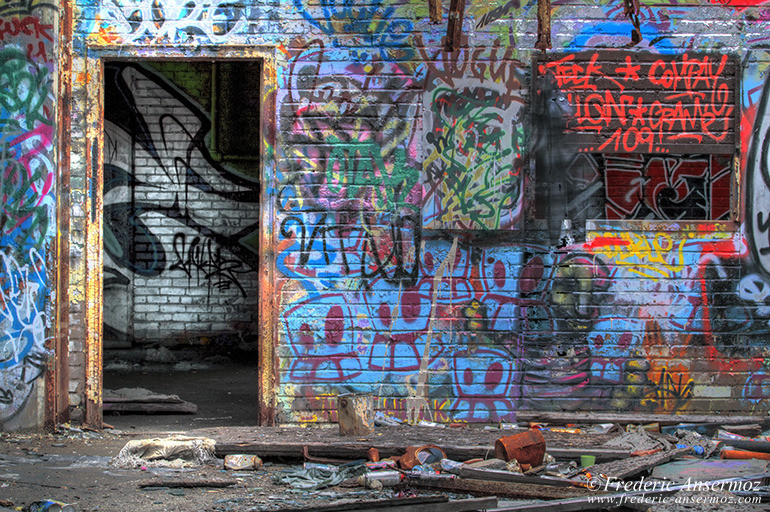
F13, 1/10 sec, 70 mm, ISO320, Canon EOS 7D
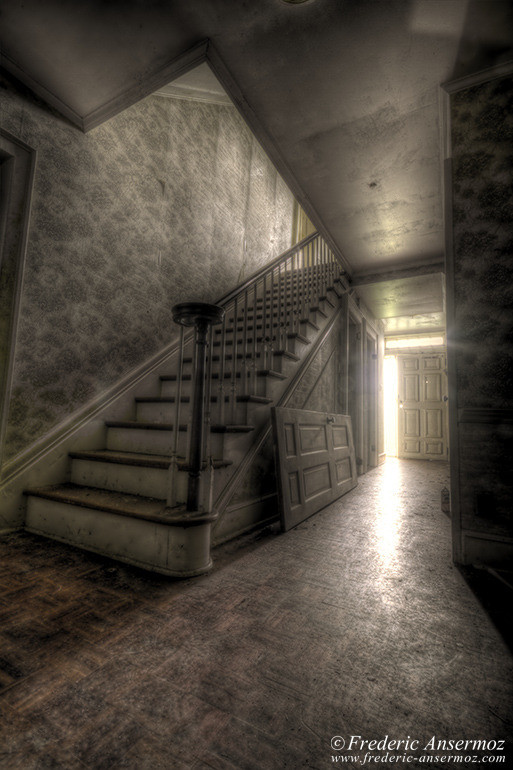
F13, 1.6 sec, 10 mm, ISO100, Canon EOS 7D
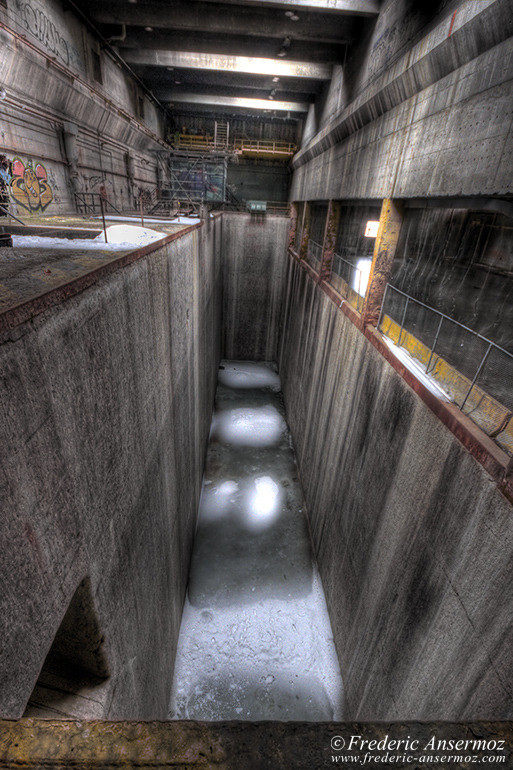
F8, 1/0 sec, 10 mm, ISO800, Canon EOS 400D DIGITAL
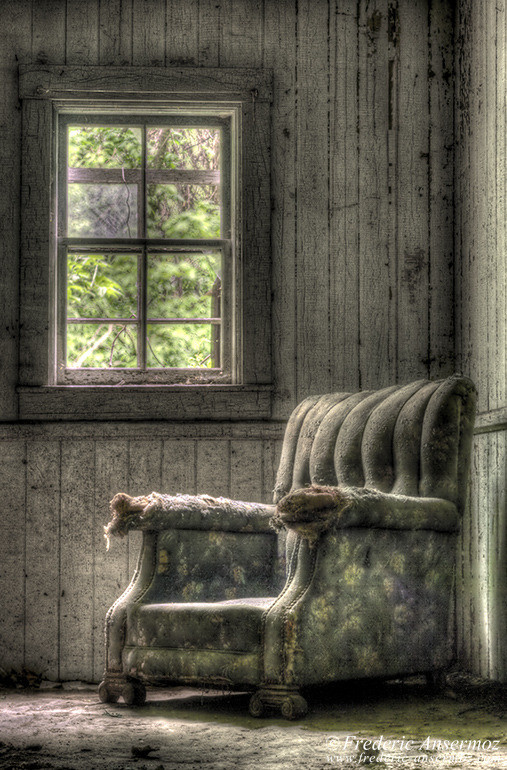
F11, 3.2 sec, 50 mm, ISO100, Canon EOS 400D DIGITAL
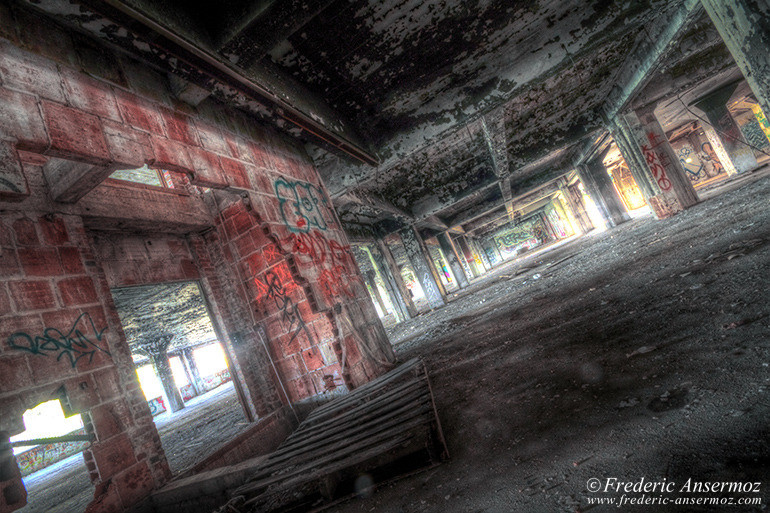
F13, 1/10 sec, 10 mm, ISO1250, Canon EOS 7D
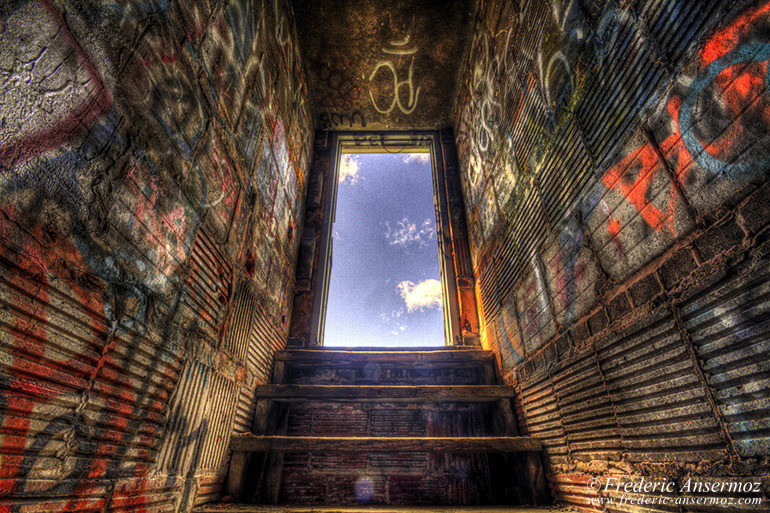
F11.31, 1/20 sec, 10 mm, ISO100, Canon EOS 7D
I hope that you enjoyed this article about HDR photography, and its High Dynamic Range photos and video tutorials.
Maybe it will motivate you to give a try to this photography technique.
Take care and take photos!

